I took more than a hundred pictures during the whole process but I promise not to inflict all of them upon you. And I'll try to keep this in some semblance of order.
So first the garden. I made the tree using a slightly modified version of Luke Towan's tutorial. Rather than use wire for the entire thing I wrapped the wire around six inches or so of a wooden dowel to give the trunk some thickness and a sense of age. I used Candytuft like Brae to imitate the leaves. I got most of them from Scenery Solutions. Can't say enough nice things about that site and the nice guy who runs it.
I added the apples by drilling through them and threading them with some dark embroidery thread for stems. I had to do some research to find out what type of apples they would have in Tudor England and it turns out they weren't much like our modern apples. I got mine from WowMiniature on Etsy. The brownish mushrooms under the tree are from WowMiniature as well.

The vegetable garden is a mix of vegetables I made and bought, leeks and lettuces from Jodi's tutorial. The cauliflower is from IrinaMiniatures on Etsy. I also got the toadstools from her, they're the more speckled ones under the tree. The cabbages in the garden are from PureJoyMiniatures on Etsy. I made the mint and chamomile plants. The green onions are from WowMiniature too. I got the carrots from myminicorner on Ebay. I cut them into pieces and used reindeer moss to make more of them since I was 'planting' them. The soil is made from two parts Elmers glue and one part coffee.


The rabbit is from Steve Panner. His name is Lewis. I got him on Ebay and he came with his own carrots but he likes to steal lettuce and carrots out of the garden. I think he goes after the cabbage too but he's never been caught.
I got the gates from Miniatures.com, and the stones from Hobby Lobby a while back. I guess they aren't selling the gate anymore, but it's really pretty.


Kristine from Paper Doll Miniatures made the door for me. She's been an absolute angel and so supportive with this entire process. That door got me going and so enthusiastic when I'd been sort of plodding along.
I made the windows using a modified technique from Glorious Twelfth I found on Pinterest. Instead of lead strips I used aluminum mesh, the type you put inside a sculpture for support. Since I can't cut straight lines to save my life it was a good compromise.

I made the bay window using some of the kit window frames cut down and fitted with casement windows and trimmed out with more knotwork trim and molding.
The rocks are from Hobby Lobby, from their model train section, as is the moss. I added the weeds with some fake vines I also got from Hobby Lobby.


I bought these windows and the casement windows from Miniatures.com. I didn't use the frames, just the windows, at least for these single ones. The knotwork trim is from Manchester Dollhouse and Wood Works.
I made the decorative piece at the peak of the eaves from a spindle piece, part of a newel post and a wooden bead.

I made the oriel window out of two bay windows, which I got from Miniatures.com. I had to make casement windows to fit into it. The windows on the lower level are from the kit, at least the frames inside are. I made the actual windows and shutters from scratch.


I got the chimney pots from Minimum World. The dragons are plastic from Amazon. I primed them with gesso and then painted and aged everything once they were glued to the pots.

The pigeons came from Ebay, a very nice lady made them for me when I asked if she'd have more auctions. She's at DebbieMiniatures.

A little closeup of the dragons on the chimney pots.
I made the support timbers from wood I bought from Hobby Lobby and the braces are from Manchester Dollhouse and Wood Works,

The plaster is paint and a texture medium, another technique from the awesome Glorious Twelfth. You can't see the texture as well in the pictures but I used a stiff bristle brush to make sure it looked like plaster. The beams are thin strips of wood, something that should be flooring really, stained with Minwax Dark Walnut and cut so they look irregular, as if they were hand hewn.

The stones are cardboard, the type that you get from toner cartridges and ceiling fans blades. I painted them various shades of grey and coated them with a satin polyurethane then used the mortar from Miniatures.com to finish them. I should have worn rubber gloves when I did that.

The tower is made of Quaker Oats boxes and cardboard, and then finished with my homemade Tudor windows and Magik Brik. I got that off Ebay and used the Dollhouse Stucco from Miniatures.com as mortar to give it a slightly different look than the cottage. I can't find the link now but they sell it under tints and textures. Greenleaf makes it.

The roof is cardboard of varying thicknesses, painted black, then two different shades of grey to give it the look of slate. I got the technique here.

Boadicea came from Ebay, and I've been very tempted to get her a brother or sister but it will need to wait.

A couple of pictures from the front door, giving us a view of the ceiling, beams and shutters all the way down to the tower staircase.


I made the drying rack from strip wood, spindles and other wooden pieces. The fish, and onions are from IrinaMiniatures. So are the cabbages, onions and some of the carrots in the baskets on the floor. Also the mushrooms in the bowl on the table.
The cloak is from Anna, and the axe from Minimum World. The clogs and spoon holder are from Keli and the spoons are from Minimum World.

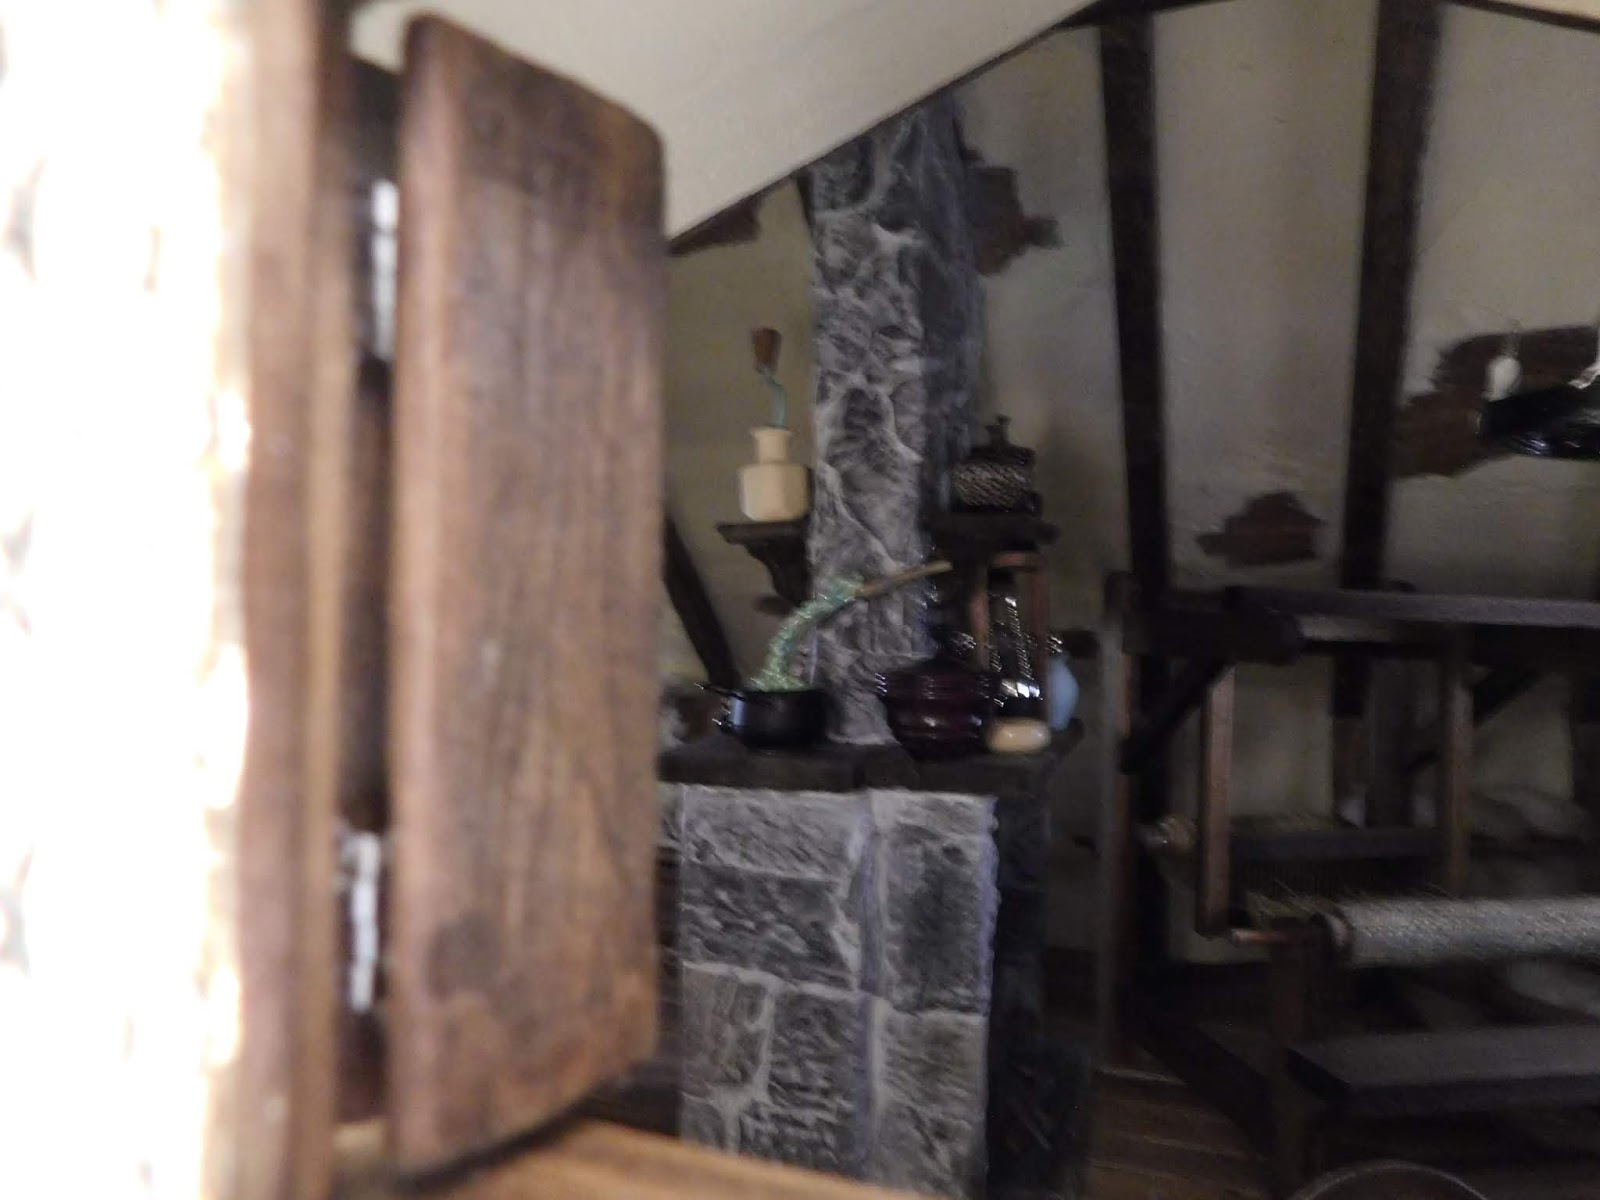
I made the fireplace and chimney for the kitchen out of balsa and more cardboard stone, then aged it with charcoal. The table, hutch, chair and sink are all from Minimum World though I made the sink stand out of wood strips and newel posts.

The jars, wooden bowls and goblets are also from Minimum World. Most of the black cauldron/stewpots came from them too. I got the 'silver' plates off of Ebay.

The mortar and pestle are from myminicorner on Ebay as are the eggs, and carrots in the basket on the floor.


The footed cauldrons/pots are from an online mini show. The bread is from myminicorner. The basket of rolls is from Keli and the cake is from RealisticMiniature on Etsy.
I made the little lantern and coat hooks. Also the handled basket with the vegetables in it. The sconces are ones I made with altered candles from some purchased sconces that looked too modern to me once I started to put them in the house. I also made the candles on the table.

The baskets on the floor are from Wicker Miniature on Etsy. The butter churn, barrel and bucket are from InSomeSmallWayMinis on Etsy. The 'rush' mats are from Minimum World.

I got the oven hook at an online miniature show.

Medieval Morsels created the pottage and roasting chicken (or duck or goose) along with the drip pan. I made the bread board but Mary made the bread in the background and the bread on the table as well. She also made the honey and small wood jar of peas on the table.

There was a lot of work that went into this room, the shutters were particularly annoying with their hinges and little screws.
But on to the bedroom we go. The furniture is from Minimum World. They had a barewood sale and I bought a bunch of furniture and stained it different colors. The wood paneling is also from Minimum World. It darkens the room but it gives it such a rich look I couldn't resist.
The fireplace is resin, painted and aged from Miniatures.com. I made the box and cushion for the crown. The crown is a ring from SimplyCindiii. The mirror is from Smallsminnimall.

I made the candles and red necklace. The silver box is from Shapeways. I made the candelabra. It looks a bit like some candles are tilting but I like it.
The tapestries are from GreenGypsies. The books are from a lot of different places, including Hobby Lobby's jewelry aisle, Little Things of Interest and Lilliput's Treasures.


I made the rush mats for the bedroom. I like that they look a little scuffed, I imagine they need replacing and she'll have to harvest more rushes and braid some new mats.


I made all the bedding, adding a second mattress and sheets as well as the curtains and blankets, woven and fur. The tassels weren't easy to make but I really like how they look.

Bathsheba is from Miniature*pets on Ebay. Anna made the pillow. I got the lute off Ebay.


The tower stairs weren't easy. But somehow I managed to get them done without killing myself, a cat or wrecking the stairs.


For my first time I think they turned out well.
The workroom is the result of a lot of research and invaluable help from Keli. Without the wool she sent me I'd be reduced to using watercolors on cottonballs to get wool. I doubt it would be a good look. The hutch and shelf is from Minimum World. The loom is a kit from SDK Miniatures. They only had half scale but when I asked they very kindly offered to get one cut in 1:12 scale.

I made the drying racks and the standing candelabra.

I made the hourglass in its holder out of a necklace, I was very excited to make it actually turn in its stand. It's useful for timing how long wool has been dying. The wooden jars are from Hartwood Woodturning.

I got the spinning wheel on Shapeways and thanks to some feedback managed to get the wool and thread on it correctly. The baskets are from Realistic Miniature.

I made the floor out of tongue depressor woodsies. I made the bolts of woven fabric and the spun thread on the cupboard and the wool cards.


The workroom involved a lot of thought. I bought most of the furniture from Minimum World. The scrolls and a couple of the crystal balls came from felix1415 on Ebay. The spilled potion bottle is from Amber of HuesDesigns on Ebay. She was really great when I asked if she'd be doing any auction soon. The crystals next to it are from Keli.

The scrolls, wax and seal on the desk are from PiccoloInfernoFG.

Cleopatra, who very much enjoys the stillroom's chair, is from Maya Schippl. I have such a weakness for her animals. I need a twelve step program.

I made the potion in the cauldron. It's bubbling over, Cecelia Alyse had better check on it.
The tarantula is from Mini Fanaticus. She sent me a little crown as a surprise for the queen as well. I didn't end up using it since I had one but it was very sweet.


I made all the magically pouring potions and the dousing apparatus.


The cage is from Keli, but the mice are from ginko305 on Etsy.

The bucket is from Keli as well.

You're all fairly familiar with the tower room. I made the furniture here to match the curve of the walls. All of the astronomy apparatus in the room are things I've made. I also made all the scrolls on the shelves.

Bathsheba and Cleopatra are messing around. They'd better not move the telescope.


But the view from up here can't be beat.


The magic potion holding the parchment is also from HuesDesigns.


A few shots of the workroom through the windows.


I'm sure that I've forgotten something, so if you see something that you just must know where it came from feel free to ask! Hope you're all having a great day and everyone got their submissions in on time.
I'll leave you with another look at the cottage.

Hi Sheila, It has been a real pleasure to follow you through this project. The result is just wonderful, I love it, love it, love it. I have run out of words, it´s beautiful, original, and authentic. It gives you a sense of history and reality, as if you´ve gone back in time and at the same time it has a magical touch and a fantasy feeling. You have done great. Thank you very much for taking the time to document all the project, I know it´s a lot of work and thank you for this last post, there are some interesting links. Good luck!
ReplyDeleteThanks Alexandra! I'm glad you're enjoying it! I had a really good time building the house, and I learned a ton too! Bargeboards, who knew?
DeleteWow you have done a very good work here. Very realistic and many thanks for many interesting links.
ReplyDeleteThey can be very useful in future.
And I wish you good luck in the HBS Creatin Contest.
And I wish you a Merry Christmas
Many hugs from Britt
Thank you Britt! Merry Christmas! I hope you have fun with the links, I know I always click on the links in other's blogs because they're so useful! And I want to give credit to the people who created so many of these lovely items.
DeleteThis sum-up is a wonderful way to end this fantastic project. It was interesting and educational from the beginning. I learned a lot about the Tudors following your work.
ReplyDeleteI"ll keep my fingers crossed for it to be a winner.
Thank you again for sharing the awesome photos and for the links.
Merry Christmas to you and yours!
Hugs, Drora
Thank you Drora! I learned a ton as well! I never knew half this stuff. Have fun with all the links! Happy Holidays and hugs!
DeleteBrava! What a beautiful job. I really appreciate that you went through and provided links to sources and tutorials that you used. I love when blogs do that. I find it incredibly helpful for my own mini projects, whether current or in the future. There is so much eye candy here--so many spot-on details. I hope the judges appreciate it! Merry Christmas, and thank you for all your interesting and educational posts on this project!
ReplyDeleteThank you! I love when other blogs link to tutorials and sources so I try to do it as much as possible. I wouldn't get half as far if they didn't.
DeleteMerry Christmas!
The dragon chimney pots are one of my favorite details. You'd swear they were made that way originally. All those windows - what a workload. You pulled it off so well and really kept yourself on track. The roof is awesome, and thank you for the link! Your magic potions are absolutely delightful! Huzzah all around!!! :D
ReplyDeleteThanks Brae! Credit where it's due, I would never have gotten the nerve to make the tree without your work on the Ash.
DeleteOh those windows... I swear it was weeks of nothing but windows!
Have a happy holiday!
¡Impresionante trabajo! y esta entrada es un relato increíble de documentación, prometo mirarlo con detenimiento cuando tenga tiempo, pues todos los enlaces que has puesto parecen muy interesantes , gracias por todo ello y por tantas fotos maravillosas. Besos:-)
ReplyDelete¡Gracias! ¡Me alegro de que te guste!
DeleteIt's a Cryin Shame that you could submit ONLY 4 PHOTOS because this expanded tour of all of the little details and singular quirkiness of this Retirement Cottage is Astounding!!! You get a real sense of Presence both inside and out.
ReplyDeleteBEAUTIFUL WORK Sheila and Best of Luck! ❤️
elizabeth
Thank you Elizabeth! I'm glad you like it! I worry there's too much in each room but I like for there to be lots of things and details.
DeleteCongratulations on a superb effort Sheila. I love that you really didn’t compromise through this process and you delivered what you set out to deliver (other than your pond/stream but the house does not lack because of this). I have everything crossed for you - I am not sure you’ll need it though!! Have a lovely holiday season. Xx
ReplyDeleteThanks Shannon! Maybe I'll try something with water in the coming year. I'd like to experiment with it. Could be fun.
DeleteThe list of details I'm in love with is too long to list. This project is a testament to a heartfelt idea, embraced, and carried out without compromise. You didn't give in when stuck, and were dedicated to a regimented schedule. I should do so well.
ReplyDeleteI'm proud to have contributed, and happy that I was able to help, though you gave me far too much credit.
Well done, friend!
Thank you Keli! I really couldn't have gotten the workroom done without your wool. I maintain that dyed cottonballs would not have looked nearly as good.
DeleteLooking through the pictures is such a great reminder of the journey you've taken us on from the kit arriving weeks late to the fruition of your magical dream! It's been such an enjoyable year, Sheila, to watch every week as your story unfolded! The only greater pleasure would be the ability to marvel at The Wicked Queen's Retirement Cottage in person! Congratulations on making the deadline with days to spare, and on seeing a dream come true! Best of luck in the contest!
ReplyDeleteThank you Jodi! I'm so glad you've been enjoying it this year.
DeleteThis is a masterpiece! Even if I was following the process for a quite some time I'm still amazed how you managed to make all these details so fast...
ReplyDeleteI'm keeping my fingers crossed all the time. :)
Thank you Kamelia!
DeleteI love every single detail about this cottage!! Especially the mushrooms! And the kitties! And everything!
ReplyDeleteThank you! I'm so glad you're enjoying it.
DeleteThis is AMAZING! You must be so proud of how fabulous it is! I love everything about it. Those billowing curtains around the bed look so beautiful. And the details in every single room. I am so awestruck. And it's also such a beautiful testament to all the friends you've made in the mini community and how nice people can be. Hope you have a wonderful holiday season!
ReplyDeleteThanks Penelope! I'm so glad you like it.
DeleteDear Sheila, I am SOOO in love with this project!!! (I am sorry I am so late to comment... things have been a bit too busy!) I don't know where to begin! The photos are wonderful... you show so many details... the mice! The Tarantula!!! The mushrooms... the cats playing in the rafters.... the views through the windows (don't you love looking in through dollhouse windows?!!) I am over the moon enchanted with this whole build! You have made so many parts and worked through so many challenges... and really have made a Masterpiece of a Cottage! I just can't say it often enough how impressed I am with your ability to stay on track and work to a deadline with such AWESOME results!!! Bravo!!! I will be coming back here again and again to spy in through your windows and look closely at all those details! :):):)
ReplyDeleteThank you Betsy! I'm so glad you like it!
DeletePS As you know, I need to join you in your 12 step program for mini animals.
ReplyDeleteLOL we can be the charter members!
DeletePart of this post was a trip down memory lane from all of 2018, and the other was seeing so many new things I've missed before! So many new details in these photos! I've really got to get myself a mini cat now, yours are too cute. Love how you've added all your sources too.
ReplyDeleteA truly inspirational piece and blog-a-long! I really wish I could see it in person, but in the meantime I can't wait to see what you work on next!
Thanks! If you're ever headed down to Texas just let me know. I truly need a 12 step program for my animal habit though. I have way too many.
Delete